Inspiration
|
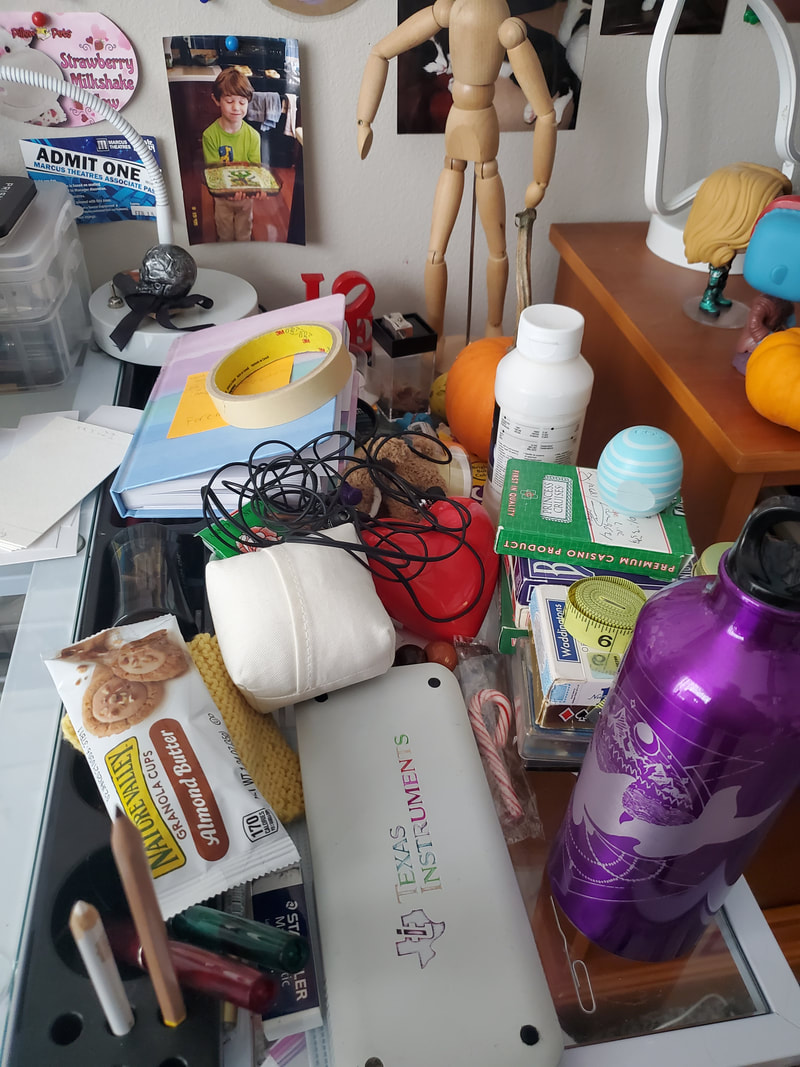
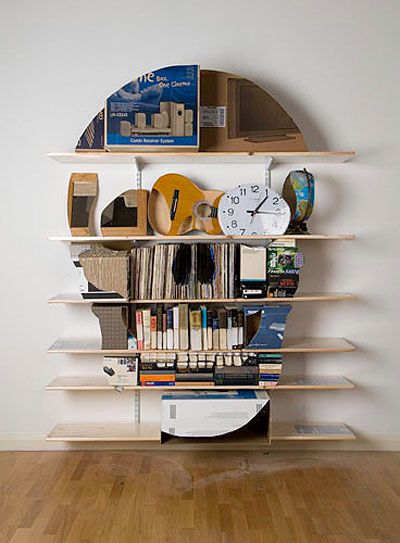
I wanted to design something that could help organize the area next to my desk (featuring the water bottle I engraved freshman year). I didn't have a particular product I wanted to recreate, so I found a few images of the approximate of my idea. I wanted some kind of organizer with mini shelves for the little pieces, and I settled on a skull design.
|

|
Base and Prep
|
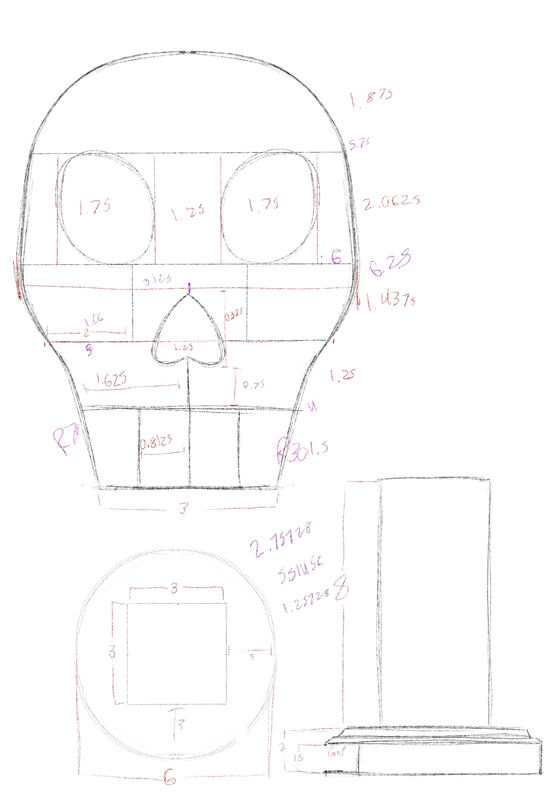
I think I got the idea to do a skull-based design because I was watching Sherlock at the time that I was designing it (I always draw with some show in the background). I drew this rough plan up with Procreate, and dimensioned it to be about 10 inches tall (drawing not really to scale). I kinda made it up as I went along, but I was satisfied with the look of the design.
|
Fabrication
|
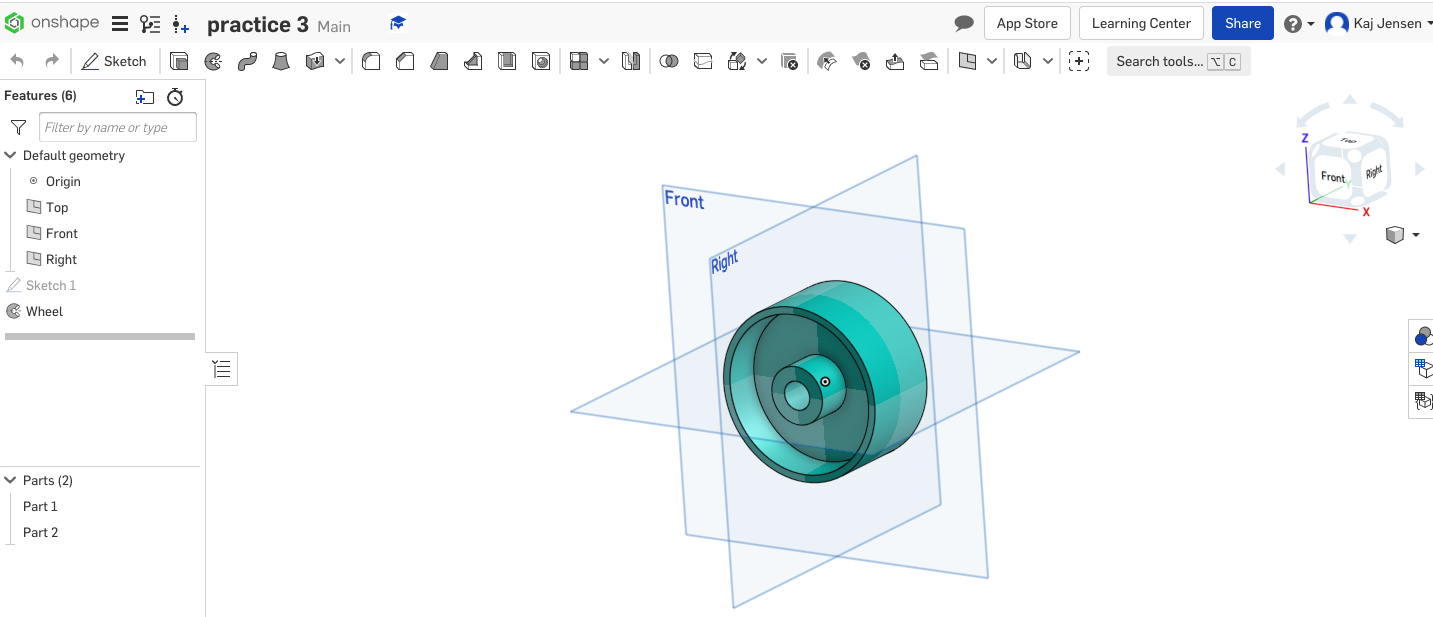
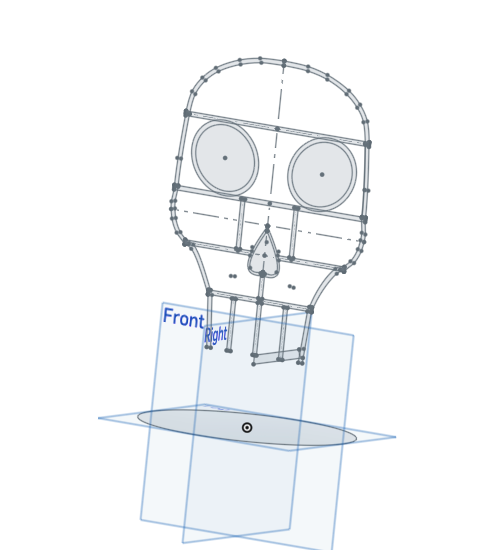
3D modelling it was the trickiest part. It was a pretty simple task on paper, but it was still a bit tricky because I don't have a whole lot of experience with 3D modelling software. I decide to use Onshape, because I had some difficulties with getting into Inventor from home.
The first thing I did was go through some of the recommended tutorials offered when you first make an Onshape account. I found them very useful because I learned how to use the revolve tool, which I used to create the little wheel to the right. It also mentioned a loft tool, which I think I will use on my horns for my final project.
|

|
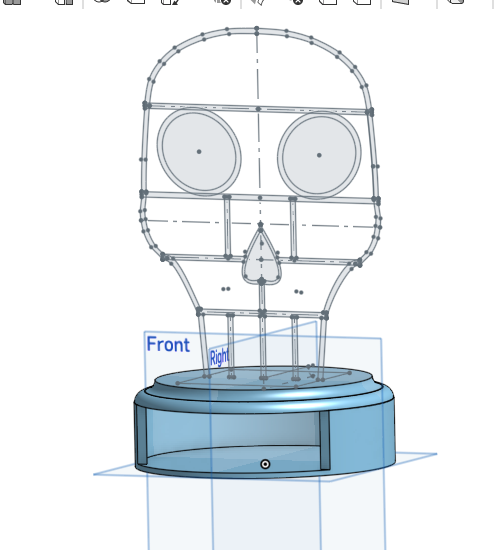
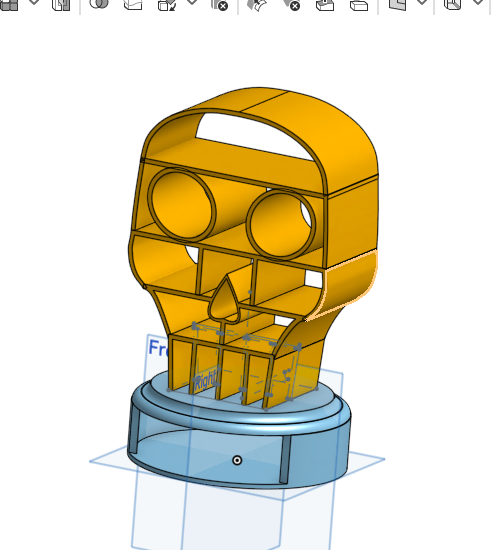
The next thing I had to do was create the sketch in Onshape and extrude it. My first step was to do the complete sketch. Every "level" of the skull was a new layer so I could keep a handle on measurements, and the bottom was very simple, as I used the revolve tool. I extruded the base first, so I could build the rest off of it. I had a few minor difficulties with the extrusion not wanting to properly line up, but I tweaked the sketch and it fit together fine. It took me almost a solid day of work, but I was able to complete it (with Sherlock in the background of course).
|
|
|
|
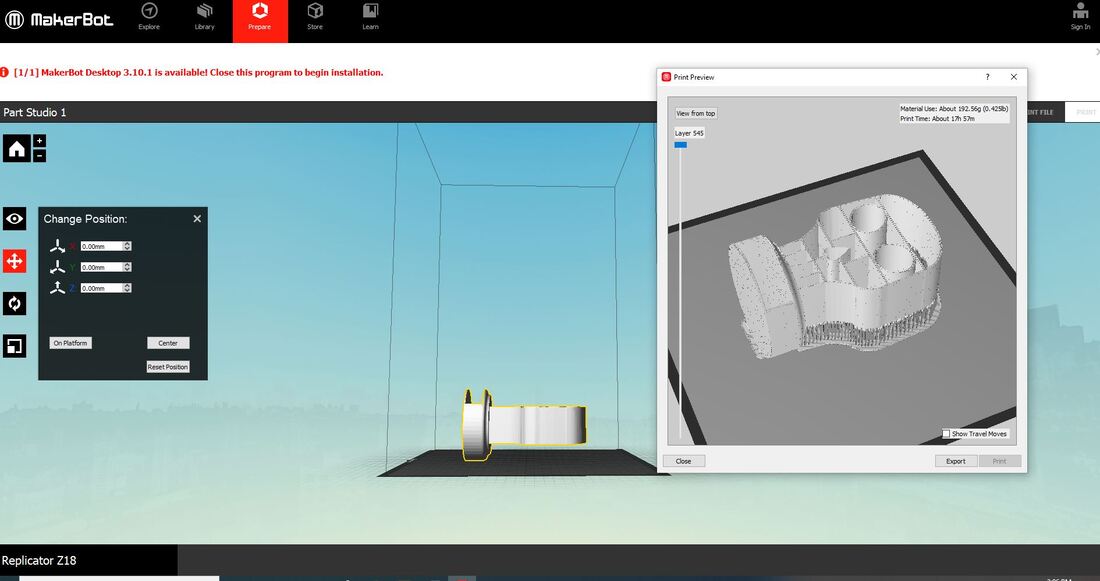
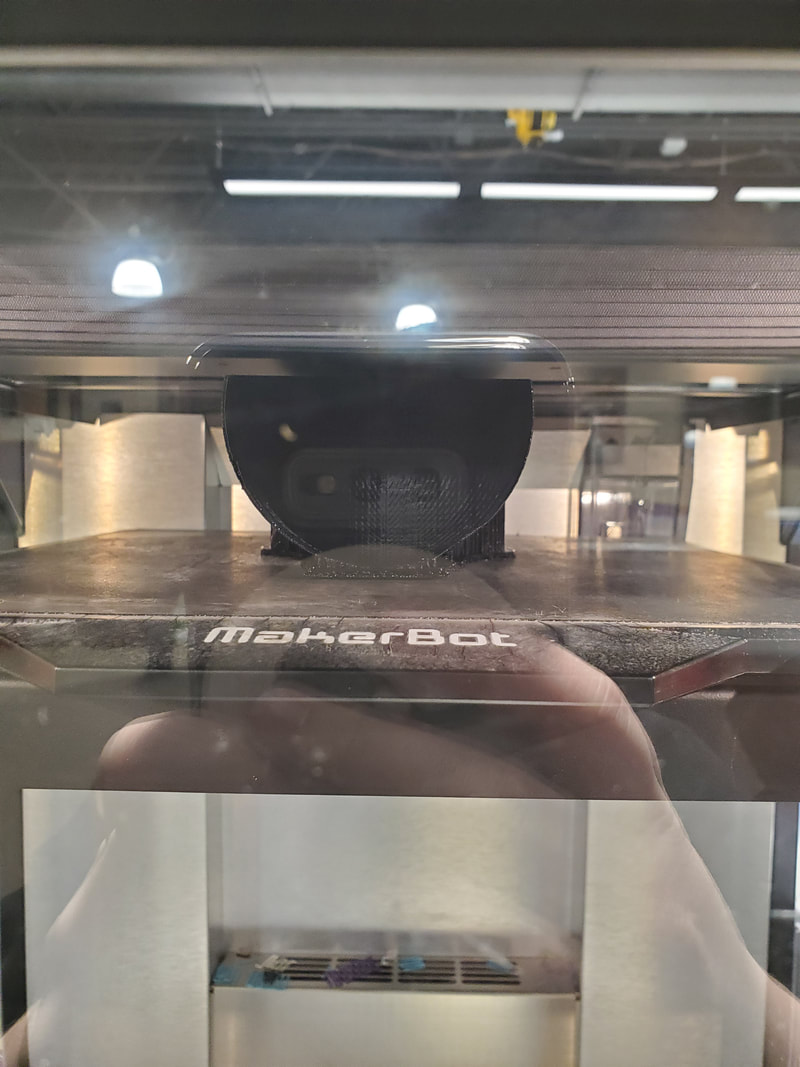
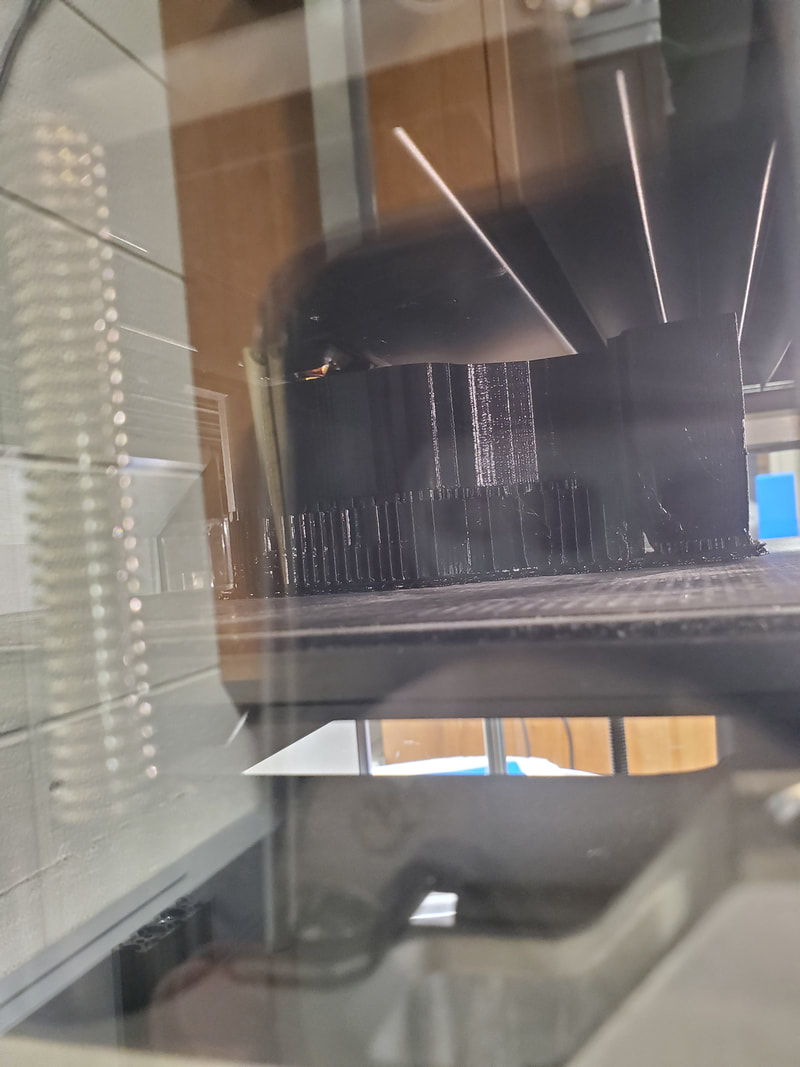
Next I had to set it up in MakerBot, the software we use to 3D print parts. I turned it on its side because that way it wouldn't print supports through the sections, saving filament. Even so, it was set to take about 18 hours, which I think was the longest print I've had up to this point.
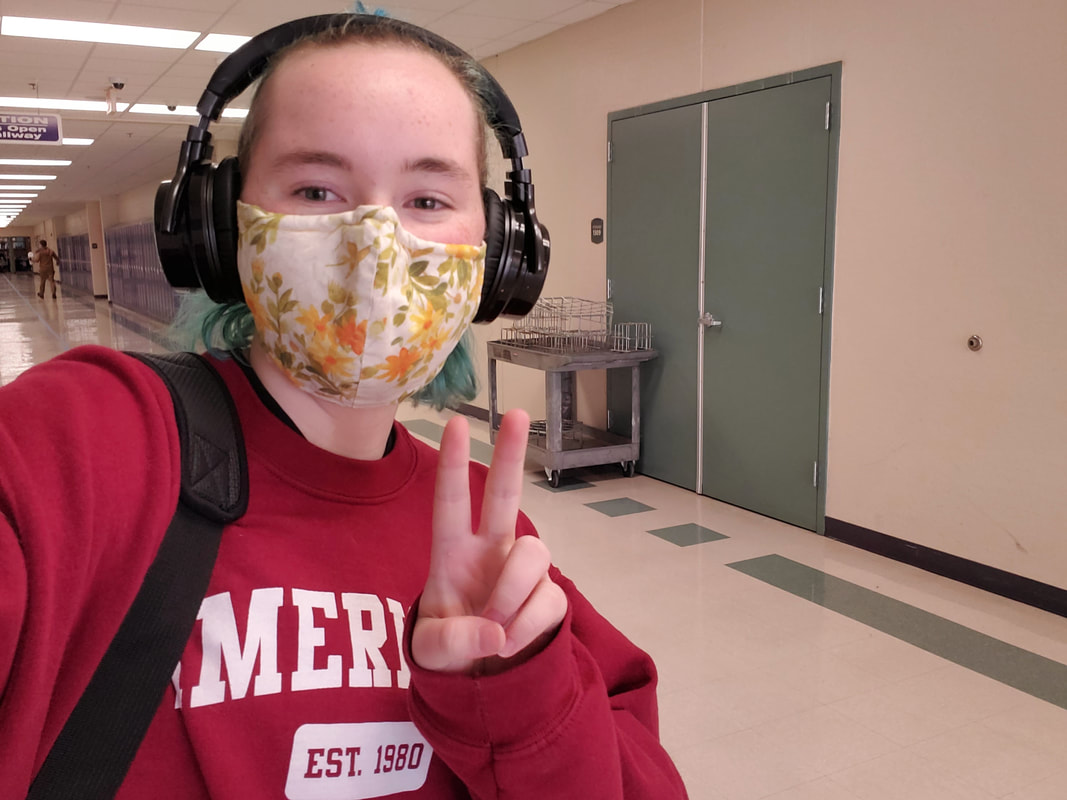
This was the first time I had been back in the building since May, and it felt both natural and very weird. Obviously, I had to commemorate the experience.
|
|
I went into the lab the next day to work on my final project, so I got to get these pictures of it mid-print.
|
|
|
|
|
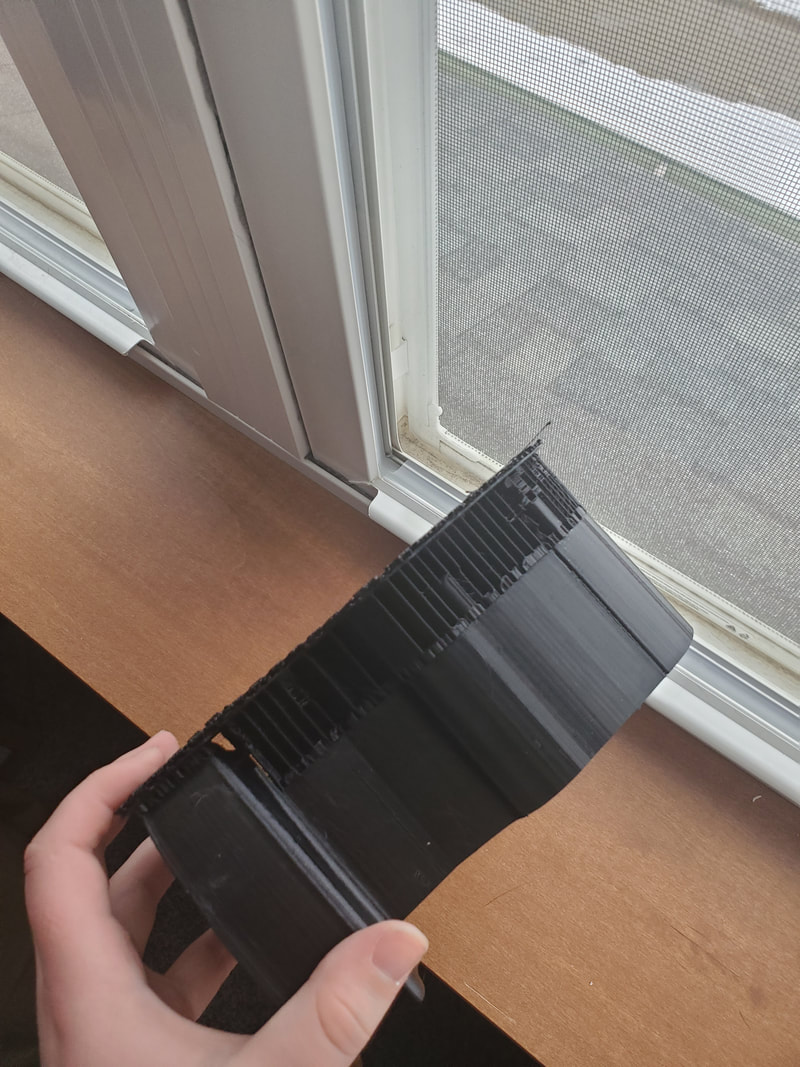
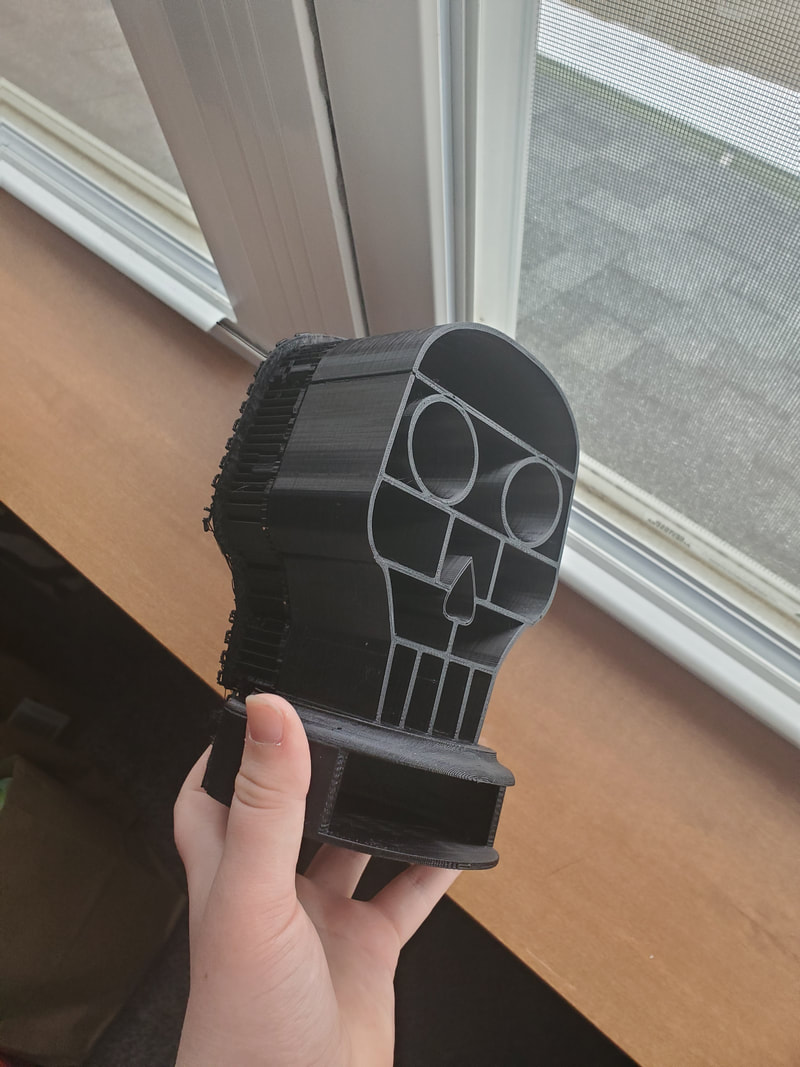
Here it is fully printed before I took off the supports.
|
Final Product and Summary
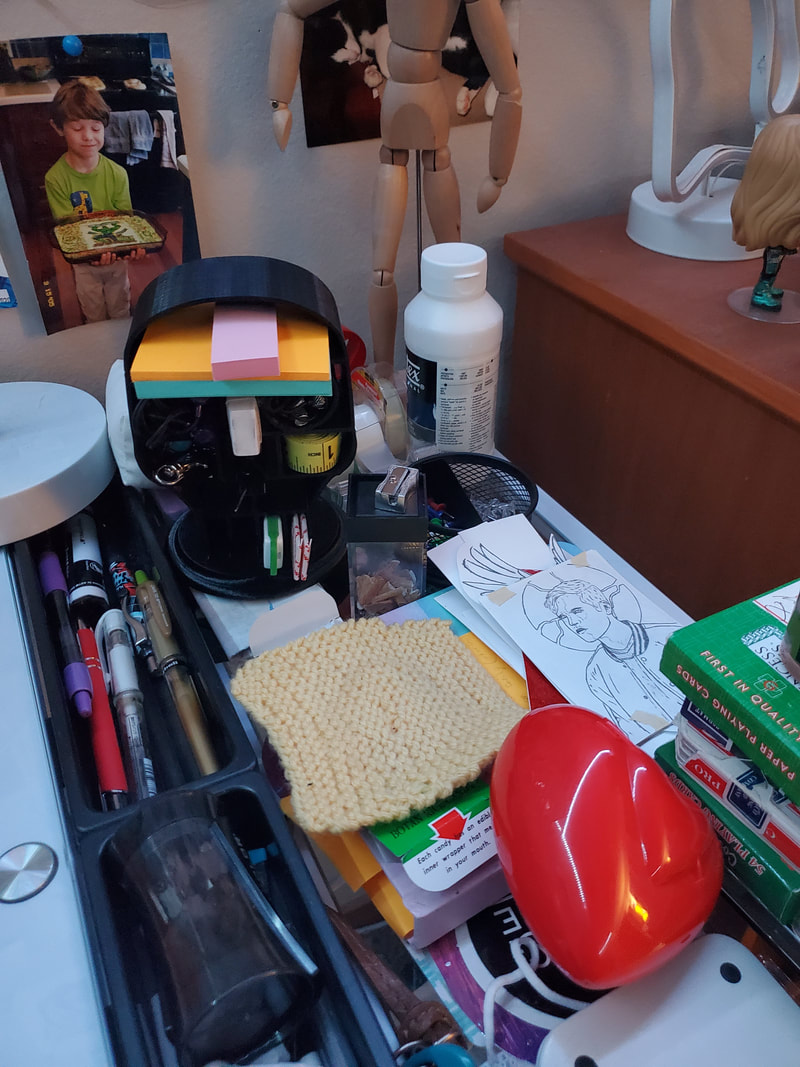
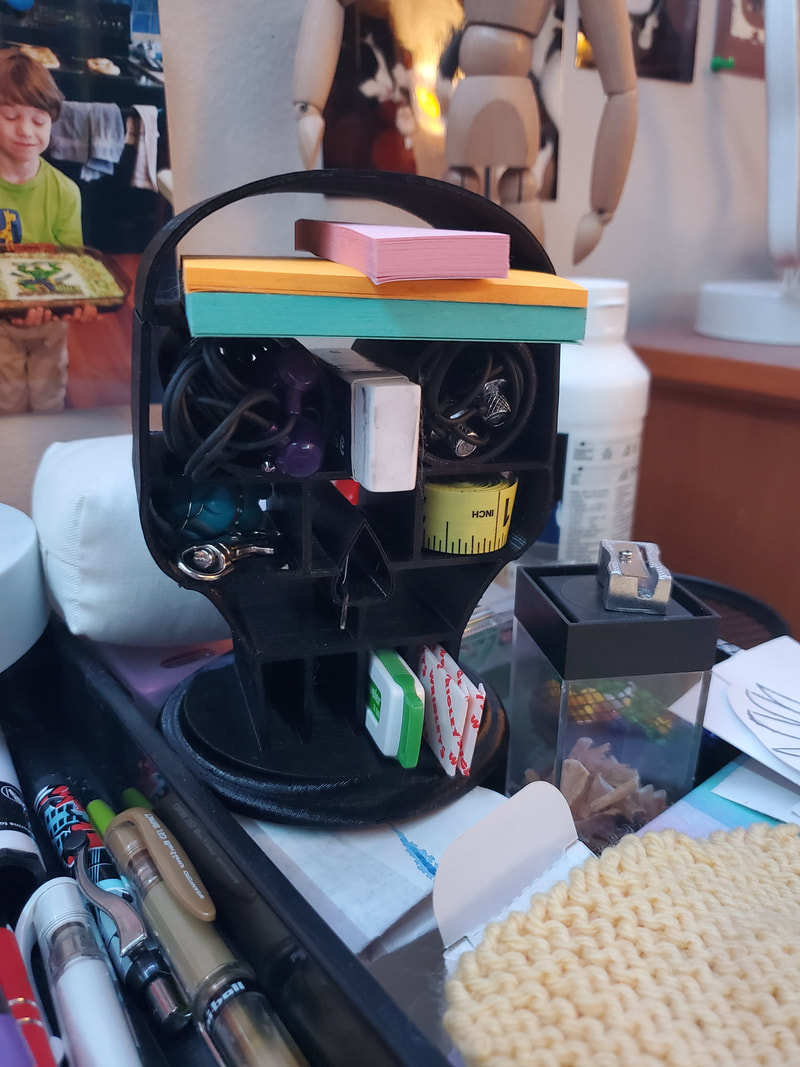
Here's the final product! It works very nicely to hold all of my small pieces, which is exactly what I designed it for. I'm very satisfied with how the design turned out, and so far it's been very useful. I do still have a lot of stuff on my desk, but it actually helps tremendously with being able to find things.
|
|
I think the biggest thing I learned from this project is that I should have more faith in myself and my capabilities. I put off this project for a while because I was afraid it would be difficult. I proved myself very wrong with that, given that it took me about a day. If I had started earlier, I probably would have been able to make it look cooler, and smooth out the little bumps and notches. I anticipated the technology not cooperating, and I really shouldn't have doubted myself, because I think it turned out pretty cool.
